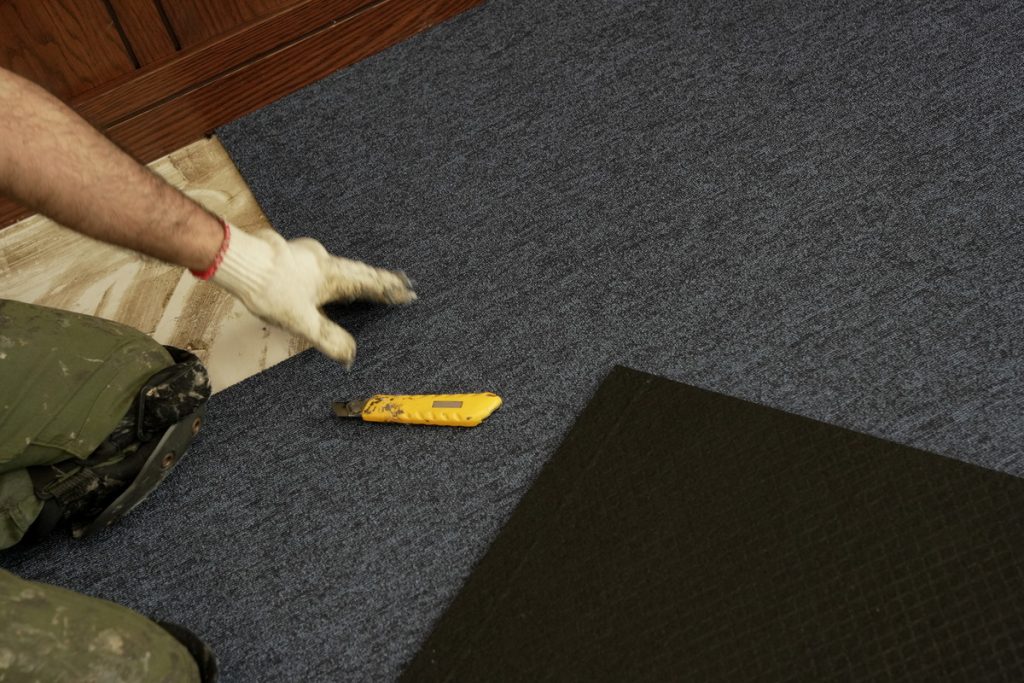
Transforming your space with carpet tiles can be a rewarding DIY project. Whether updating your living room or enhancing an office, knowing how to measure and cut carpet tiles is crucial for achieving a seamless look. Let’s explore the steps to ensure a flawless installation!
Essential Tools You’ll Need
Before you begin, gather these tools to ensure a smooth process:
Tape Measure: A high-quality tape measure is essential for obtaining accurate measurements. Consider using one with both metric and imperial markings for flexibility.
Utility Knife or Carpet Cutter: A sharp utility knife is crucial for clean cuts. A specialized carpet cutter, designed specifically for cutting flooring materials, can make the job even more accessible.
Straight Edge or Ruler: This will guide your cuts, ensuring they are straight and precise. A metal ruler is often preferable for durability.
Chalk Line: A chalk line helps create straight reference lines across your installation area, especially for large spaces.
Square: A carpenter’s square ensures that your corners are at right angles, which is vital for a professional-looking installation.
Safety Gear: Don’t forget gloves and safety glasses. Protecting yourself while cutting will prevent injuries from sharp tools.
Carpet Tile Calculator: A handy tool that helps you determine the number of carpet tiles needed for a specific area by inputting the room dimensions and accounting for waste and tile size.
When measuring and cutting carpet tiles, using quality tools is vital. Here’s a summary of the top brands for each essential tool:
- Tape Measure: Stanley – Durable and accurate.
- Straight Edge: Eagle Tools – Ensures consecutive cuts.
- Utility Knife: Olfa – Sharp and ergonomic design.
- Carpet Tile Cutter: Roberts – Reliable for precision cutting.
- Cutting Mat: Fiskars – Self-healing and durable.
- Notepad and Pen: Moleskine – Ideal for notes and measurements.
- Square Tool: Empire – Known for precision and sturdiness.
- Safety Gear: 3M – Offers excellent protection.
- Level: Stabila – Accurate and reliable.
- Vacuum Cleaner: Dyson – Powerful for quick clean-up.
- Carpet Tile Calculator: SmartiCalc – A handy internet calculation Tool.
Choosing these brands will ensure you have the right tools for an effective carpet tile installation.
How to Measure and Cut Carpet Tiles: A Comprehensive Guide
Step 1: Measure Your Space
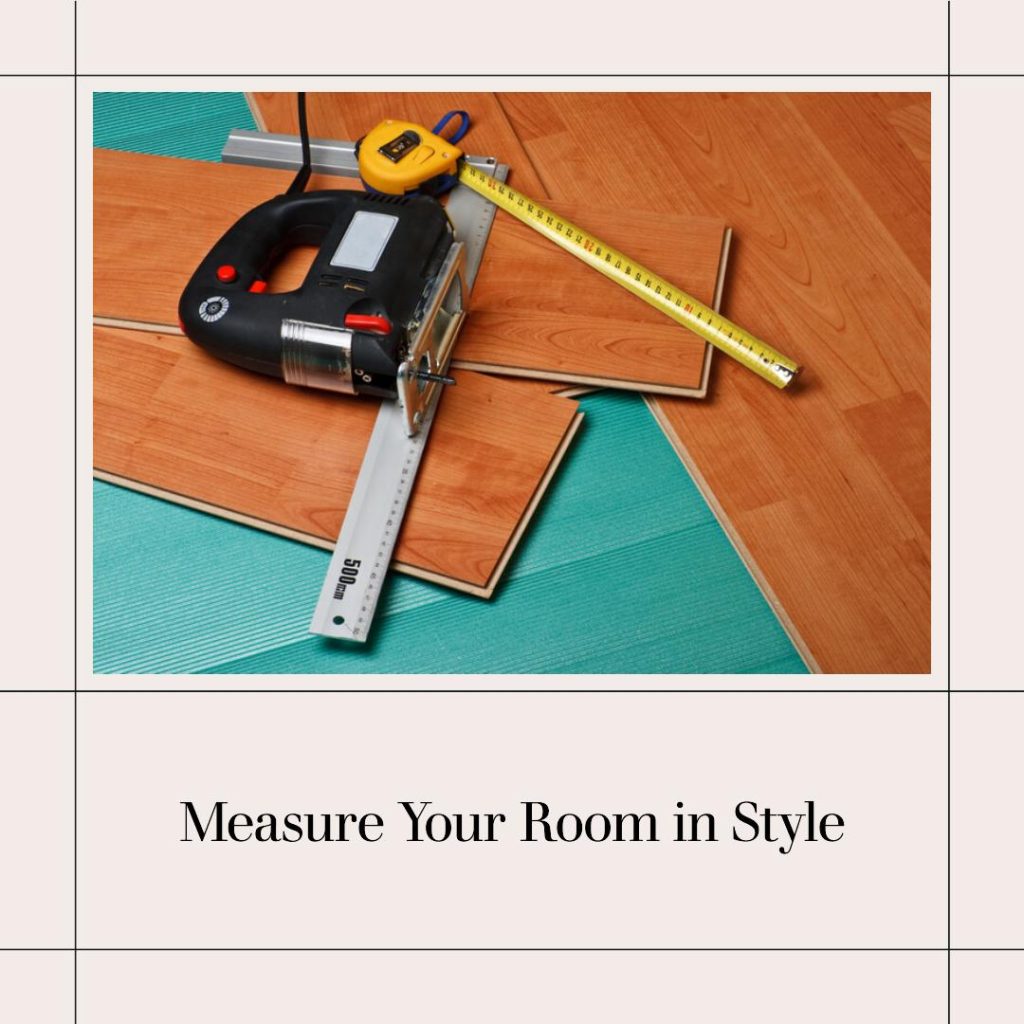
Measure the Room
Start by measuring the length and width of the room where you’ll lay the tiles. Use your tape measure to get precise dimensions, which you should write down. Then, multiply the length by the width to calculate the total area.
For example, if the room measures 5 meters long and 4 meters wide, the area is 20 square meters. If your room is irregularly shaped, divide it into smaller rectangular sections, calculate the area for each, and then add them together.
Consider Angles and Bump-outs
If your room has bump-outs, nooks, or unusual shapes, measure these areas separately. For example, if a section protrudes, measure its dimensions to ensure you don’t overlook any space that needs flooring. Add these areas to your total calculation to ensure you have enough tiles.
Step 2: Plan Your Tile Layout
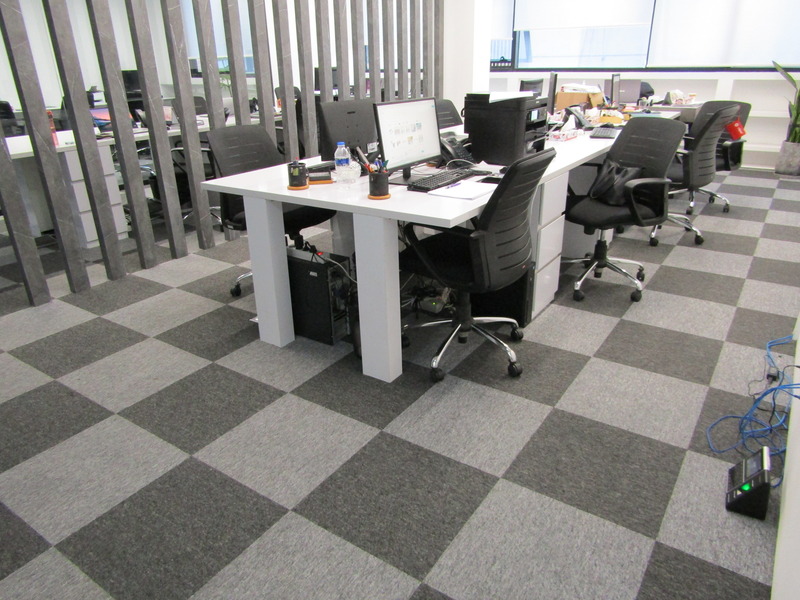
Before cutting, deciding on a layout is crucial for aesthetic and practical reasons. Common layouts include:
Straight Lay: This is the simplest method, where tiles are laid in parallel rows. It’s the easiest option for beginners and works well in most spaces.
Diagonal Lay: This method involves laying tiles at a 45-degree angle to the walls. While it can be more complex, it adds visual interest and can make a room appear larger.
Custom Patterns: To be creative, consider mixing different colors or textures to create a unique design. This can add personality to your space but requires more planning and precision.
Step 3: Cutting the Carpet Tiles
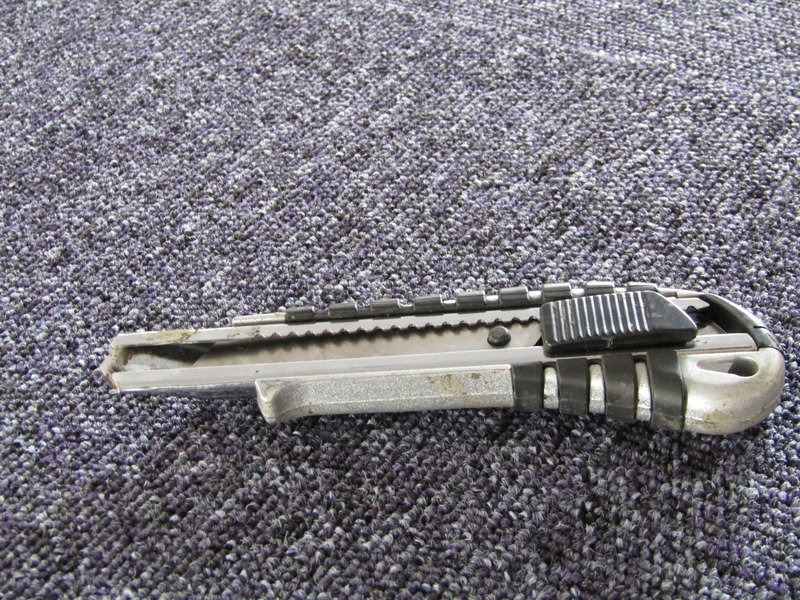
Mark Your Cuts
Once you’ve decided on the layout, use your straight edge to mark where you’ll cut each tile. Take your time with this step; accurate marks lead to better results. A chalk line can help create long, straight lines across multiple tiles.
Prepare for Cutting
Lay the tile on a flat, stable surface, like a cutting mat or an old board. This will protect your workspace and prevent damage to your flooring during the cutting process.
Make the Cut
Using your utility knife, carefully follow the marked line. Apply consistent pressure and ensure you cut through the tile for a clean edge. For thicker tiles, you may need to score the surface multiple times before snapping it along the cut line. This technique helps you get a clean break without damaging the tile.
Step 4: Fitting the Tiles
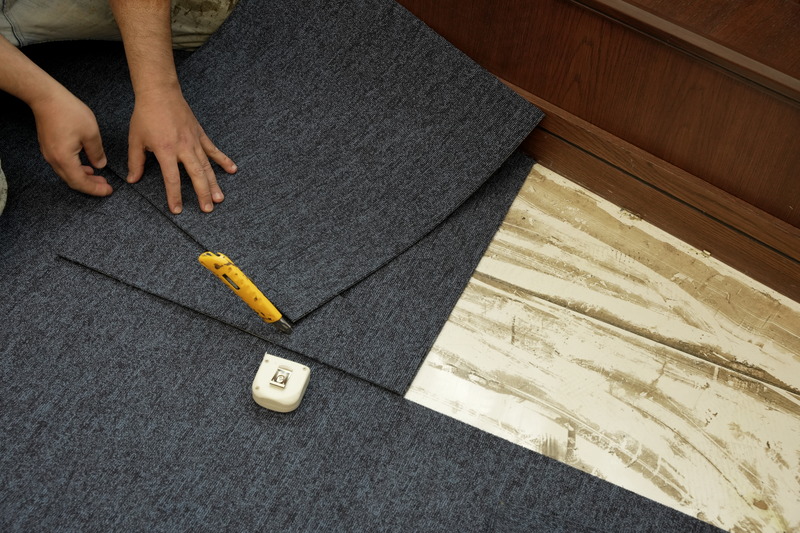
Test Fit Before Installing
Before permanently fixing the tiles in place, lay them out according to your planned pattern without adhesive. This allows you to visualize how they fit together and check for any necessary adjustments.
Make Adjustments
If any tiles don’t fit perfectly, trim them as needed. Minor adjustments are generally easier to manage than significant cuts, so it’s wise to err on the side of caution. A good fit will enhance the overall appearance and durability of your installation.
Step 5: Installing the Tiles
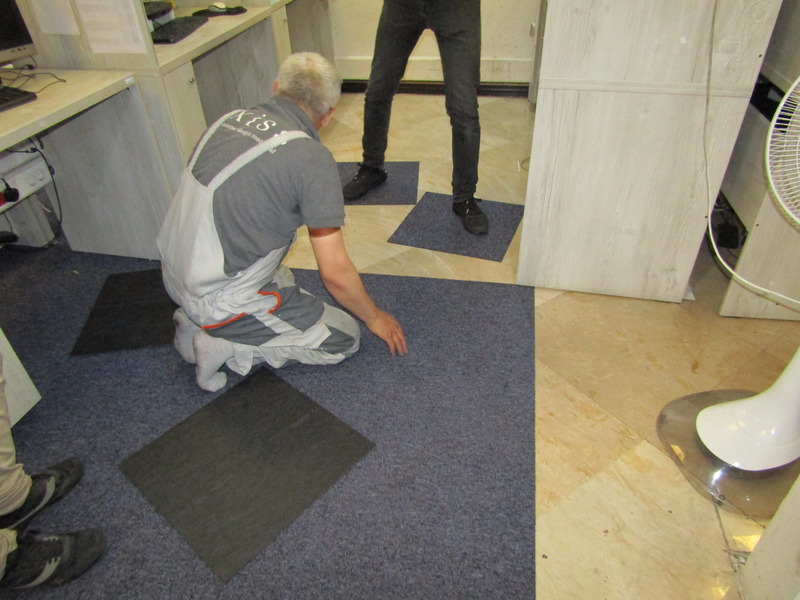
Start from the Center
For a balanced look, start laying tiles from the center of the room and work outward. This method helps ensure an even distribution of colors and patterns, preventing one side from looking heavier than the other.
Press Firmly
Press down firmly as you place each tile to secure it in place. This ensures a strong bond, especially if the tiles have an adhesive backing. Check for gaps between tiles and adjust to a seamless look.
Why Accurate Measurement Matters
When it comes to carpet tile installation, precision is paramount. Accurate measurement ensures a visually appealing result and contributes to the durability and functionality of your flooring. Here’s why getting your measurements right is crucial for a successful project.
Ensuring a Perfect Fit
Carpet tiles are designed to fit together seamlessly, creating a smooth and cohesive surface. Incorrect measurements can lead to gaps, overlaps, or misalignment, compromising the overall look and feel of the space. Accurate measurement ensures that each tile fits perfectly, producing a polished and professional finish.
Tip: Measure each section of the room carefully, accounting for any irregularities or obstacles, such as doorways and built-in furniture.
Minimizing Waste and Saving Costs
By measuring your space accurately, you can determine the exact number of tiles needed for your project. This not only helps minimize waste but also optimizes your budget. Overestimating can lead to unnecessary expenses, while underestimating can cause delays and additional costs for extra materials.
Tip: Calculate a small buffer (typically around 10%) for cutting and fitting tiles, especially if your room has many angles or irregular shapes.
Enhancing Durability and Performance
Adequately measured and installed carpet tiles are more likely to stay in place and maintain their integrity over time. Misaligned tiles can shift, curl, or wear unevenly, reducing the lifespan of your flooring. Accurate measurement ensures that tiles adhere correctly and distribute wear evenly, enhancing their durability and performance.
Tip: Follow the manufacturer’s guidelines for tile placement and spacing to maximize the lifespan of your carpet tiles.
Facilitating Easier Installation
Making precise measurements can make the installation process much smoother and less stressful. Knowing the exact dimensions of your space allows you to plan your layout effectively, making it easier to align tiles and avoid common pitfalls.
Tip: Create a detailed floor plan before you start laying tiles. Mark out the center of the room and work your way outward to ensure even spacing and Alignment.
Avoiding Costly Mistakes
Incorrect measurements can lead to costly mistakes that require redoing parts of your installation. This can be time-consuming and frustrating. By measuring accurately from the start, you can avoid these errors and ensure a smooth installation process.
Tip: Double-check all measurements and use digital measuring tools for added precision.
In summary, accurate measurement is the foundation of a successful carpet tile installation. It ensures a perfect fit, minimizes waste, enhances durability, facilitates easier installation, and helps avoid costly mistakes. Taking the time to measure carefully sets the stage for a beautiful and long-lasting flooring solution.
Common Mistakes to Avoid
Installing carpet tiles can be a straightforward process, but it’s easy to make mistakes that can compromise the final result. Here are some common errors to watch out for and tips on how to avoid them, ensuring a flawless and professional-looking installation.
1. Incorrect Measurements
One of the most frequent mistakes is taking inaccurate measurements. Even minor miscalculations can result in gaps, overlaps, or tiles that don’t fit properly.
Tip: Double-check all your measurements. Use a reliable tape measure and consider marking your floor with chalk or painter’s tape to guide your tile placement. Remember the adage: measure twice, cut once.
2. Inadequate Floor Preparation
Skipping the essential step of preparing the subfloor can lead to poor adhesion and an uneven surface, causing tiles to lift or shift over time.
Tip: Clean the subfloor thoroughly to remove all dust, dirt, and debris. Ensure the surface is dry and level. Use a leveling compound to fill in any cracks or low spots.
3. Ignoring Tile Orientation
Carpet tiles often have a directional pattern indicated by arrows on the back. Ignoring these arrows can lead to a mismatched and inconsistent appearance.
Tip: Pay attention to the arrows on the back of the tiles. Lay out a few tiles before applying adhesive to ensure you are happy with the pattern and orientation.
4. Incorrect Adhesive Application
Using too much or too little adhesive or the wrong type can cause tiles to shift or not adhere properly, leading to bubbles or loose tiles.
Tip: Follow the manufacturer’s guidelines for adhesive Application. Spread the adhesive evenly and use the recommended amount. If using peel-and-stick tiles, ensure the floor is arid and clean.
5. Poor Cutting Techniques
Improperly cut tiles can lead to gaps, uneven edges, and wasted materials. This is especially important around edges, corners, and obstacles.
Tip: Cut tiles with a sharp utility knife and a straight edge. Measure carefully before cutting, and always cut tiles from the back to prevent damaging the carpet surface.
6. Failing to Leave Expansion Gaps
Carpet tiles need room to expand and contract with changes in temperature and humidity. Installing tiles too tightly can cause them to buckle or warp.
Tip: Leave a small gap (about 1/8 inch) around the room’s edges and fixed objects. These gaps can be covered with baseboards or trim.
7. Rushing the Installation
Hurrying through the installation process can lead to errors and overlooked details, resulting in a less professional finish.
Tip: Take your time with each step of the process. Carefully align each tile and ensure it is correctly adhered to before moving on to the next one. Double-check your work as you go.
8. Neglecting Final Checks
Once all the tiles are in place, assuming the job is done is easy. However, skipping final checks can mean missing issues that could be easily fixed before they become more significant problems.
Tip: Inspect the entire floor after installation. Look for any loose tiles, gaps, or misalignments. Walk over the floor to ensure all tiles are secure and properly adhered.
You can achieve a smooth and professional carpet tile installation by being mindful of these common mistakes and following these tips. Proper preparation, careful measuring, and attention to detail ensure your new floor looks great and performs well for years.
Final Tips for Success
- Double-Check Measurements: Always measure twice before making any cuts. This simple step can save you time and materials.
- Take Your Time: Rushing can lead to mistakes. Take your time during both measuring and cutting to ensure a professional finish.
- Practice: If you’re new to cutting carpet tiles, practice on a scrap tile first. This will help you build confidence and ensure you’re comfortable with your tools.
Expert Advice for Mastering Carpet Tiles
Expert Tips on Measuring Carpet Tiles
John Miller, Flooring Specialist at Home Improvement Experts
Accurate Measurements are Key: “Before cutting, measure your space meticulously. Use a tape measure to determine the length and width of the room, accounting for any irregularities such as alcoves or doorways. Always measure twice to ensure accuracy and prevent wastage of materials.”
Sarah Lopez, Interior Designer at Design Innovators
Plan Your Layout: “Lay out your carpet tiles in a dry run before cutting. This helps you visualize the final look and allows you to make any necessary adjustments. Start from the center of the room and work outwards to ensure a balanced and symmetrical installation.”
Michael Brown, Professional Carpet Installer
Use a Chalk Line for Straight Cuts: “A chalk line is valuable for ensuring straight, precise cuts. Snap a chalk line across the back of the carpet tile where you need to cut. This provides a clear, straight guide that makes cutting easier and more accurate.”
Expert Tips on Cutting Carpet Tiles
Lisa Robinson, DIY Expert and Blogger
Sharp Tools for Clean Cuts: “Always use a sharp utility knife or a carpet cutter. Dull blades can fray the edges of the carpet tiles and result in uneven cuts. Change your blade regularly to maintain clean and smooth cuts.”
Robert Green, Construction Project Manager
Cut on a Stable Surface: “Ensure you cut your carpet tiles on a stable and flat surface. This prevents any unwanted movement of the tile while cutting, which can lead to mistakes. A large cutting mat or a piece of plywood works well for this purpose.”
Emma White, Home Renovation Consultant
Use Metal Straightedges: “When cutting straight lines, use a metal straightedge as a guide. This ensures that your cuts are straight and precise. For curves or intricate shapes, consider using a template or a stencil to mark your cuts.”
Expert Tips on Installation
David Harris, Owner of Harris Carpets
Adhesive Application: “Use the right adhesive for your carpet tiles. Some tiles come with a self-adhesive backing, while others require a specific type of carpet glue. Follow the manufacturer’s instructions carefully to ensure a secure and lasting installation.”
Jessica Taylor, Flooring Designer at Modern Homes
Proper Alignment: “Align each tile carefully with the adjacent ones to avoid gaps and ensure a seamless appearance. Pay attention to the directional arrows on the back of the tiles, as this helps maintain a consistent pattern and texture throughout the room.”
Tom Wilson, Senior Technician at Pro Flooring Solutions
Tackling Obstacles: “When installing around obstacles like vents or posts, measure and cut the tiles to fit precisely around these areas. It’s often easier to cut a paper template and then use it as a guide for cutting the carpet tile. This reduces the risk of errors and ensures a professional finish.”
FAQ
How do I measure a room for carpet tiles?
To measure a room for carpet tiles, first clear the space. Measure the length and width of the room and multiply these dimensions to find the area. For irregularly shaped rooms, divide the space into smaller sections, measure each section, and sum the areas.
What tools do I need for measuring and cutting carpet tiles?
Essential tools include a tape measure, straight edge, utility knife, carpet tile cutter, cutting mat, notepad and pen, square tool, safety gear (gloves and safety glasses), level, and a vacuum cleaner.
How do I calculate the number of carpet tiles needed?
Calculate the total area of your room by multiplying the length by the width. Divide this area by the size of one carpet tile to determine how many tiles you need. Add an extra 10% to account for waste and cuts.
Why should I add a waste factor when measuring carpet tiles?
Adding a 10% waste factor ensures you have enough tiles to cover mistakes, cuts, and future repairs, avoiding delays and additional costs.
Can I cut carpet tiles myself?
Yes, you can cut carpet tiles using a utility knife or carpet tile cutter, along with a straight edge to guide your cuts for precise and clean edges.
What safety gear should I use when cutting carpet tiles?
Use safety glasses to protect your eyes from debris and gloves to protect your hands while cutting carpet tiles.
How do I measure irregularly shaped rooms for carpet tiles?
Break the room into smaller rectangular sections, measure each section separately, and add the areas to get the total area.
How can I ensure accurate cuts on carpet tiles?
Use a straight edge or square tool to guide your cuts. Ensure your utility knife or carpet tile cutter is sharp for clean and precise edges.
Can I use a laser to measure my room?
A laser distance measurer can provide quick and accurate readings, especially for larger or more complex spaces.
How do I plan the layout of carpet tiles around doors and windows?
Measure the dimensions of doors and windows and plan your tile layout to seamlessly fit around these features, cutting tiles as needed to fit precisely.

